When I first learned to spin nearly 20 years ago, “painted roving” was the New and Exciting thing. The barrier to entry for indie dyers is pretty low – combed top and acid dyes are easy to get, it can be done in a small space, and there are numerous books, magazine articles, and tutorials about the various ways it can be done. These days braids of painted top are one the most prevalent forms of ready-to-spin fiber preps.
Enter the blending board! Here was a tool that was much less expensive than a drum carder, and didn’t have the learning curve of hand cards. People realized that they could use this tool to plan placement of color and texture in a carded prep. Batts and rolags were no longer expected to be a mostly-homogeneous blend, nor were they limited to stripes. The intersection of these ideas with the rising popularity of Art Yarn has made artfully blended batts A Thing with spinners buying RTS preps.
In an effort to be at least somewhat on-trend, as well as to take advantage of recent fleece acquisitions, I’m trying to get out of my comfort zone and figure out the New Batt. Homogeneous blends I can do -have been doing for years. Ombrés? Not so much. I have little interest in themed Art Batts – they’re fascinating and beautiful, but I admit the idea of trying to spin them makes my skin crawl. For all that I admire a well-executed Art Yarn, I’m a smooth-or-minimally-textured-yarn gal. Different ways of blending colors and fibers, however, I can do. I am on a quest for different structures and fiber blends, spinning them up, and seeing what happens.
I’ve discovered that it’s harder than you’d think to find 201 or 301-level information on this subject. Everything I’ve found has been for beginners. I’m looking for recipes, not “how to cook.” In desperation I bought Esther Rodgers’ Craftsy class on Fiber Processing, hoping she would go into the details I was looking for, and I found some of what I wanted – I just wish I hadn’t had to pay for a class that was 95% stuff I already knew so that I could get to the 5% I didn’t. There were also subjects I wish she’d discussed that she didn’t, but I’ll get into that another time.
I’m currently exploring striped and layered batts, dizzing the batts back and forth off the drum into a roving, and seeing what the resulting yarn looks like. One of the ways to get a striped batt is to make a layered bat, split it, then run the sections back through the drum carder sideways. I first tried this with the Cheviot X fleeces I’ve been washing, but I didn’t think to take photos, and the colors were too dark to really show the results well online. I decided to repeat the experiment with more contrast.
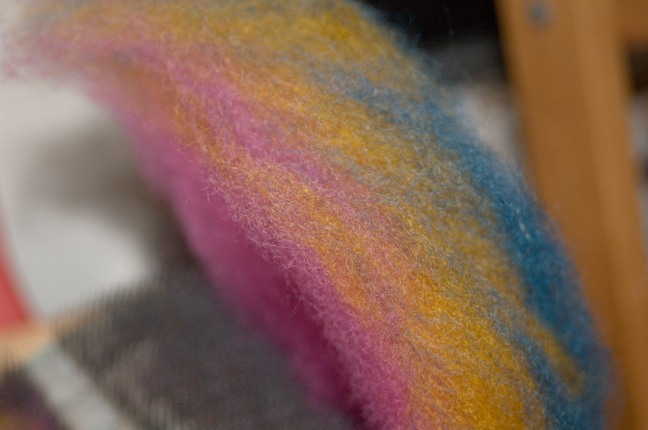
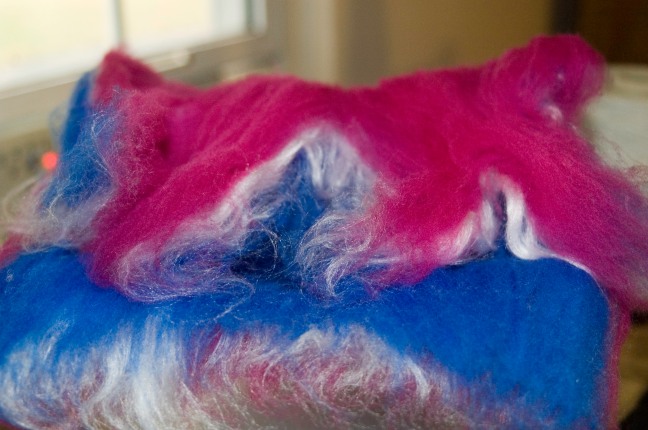 Here is my layered batt, using equal amounts of magenta and blue Merino top, and white bamboo rayon. This fiber combination turned out to be a bad choice for this experiment, as you will see later. Among other things, I determined that yes, bamboo is one of those types of fiber that is best applied directly to the drum rather than via the licker-in and the feeder tray. It’s so slick that the main drum doesn’t want to pick it up, it all gets stuck around the licker-in, and you have to then persuade it to go where you want.
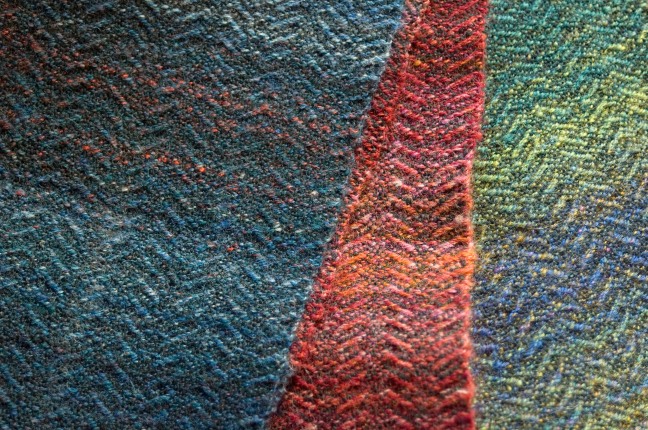
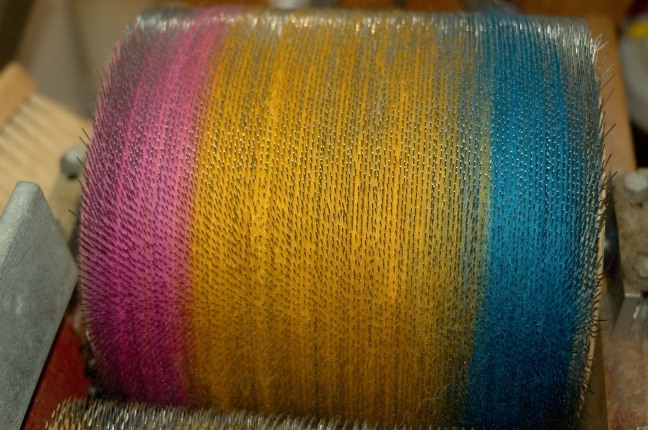
 Here you can see the batt section turned on its side, the three colors forming stripes. You can also see how the slipperiness of the bamboo is causing a great deal of separation in that middle layer, and will end up being a bit of a PITA as I try to keep the stripes discernable.
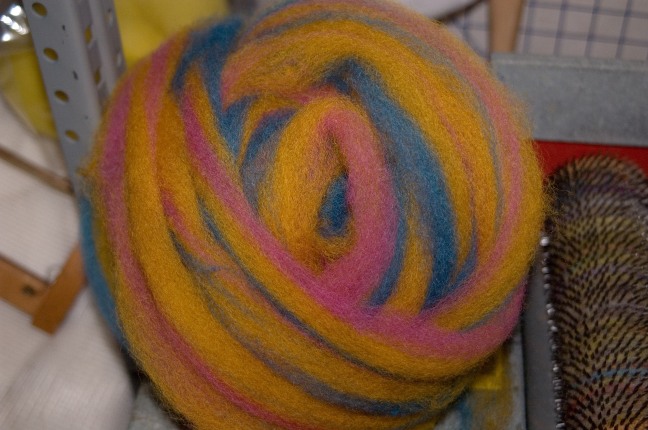
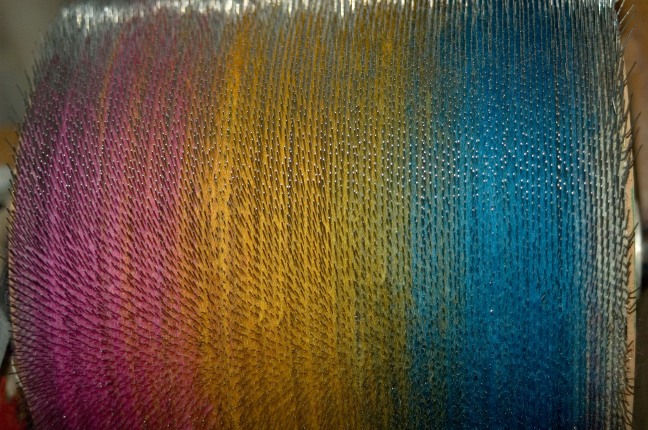
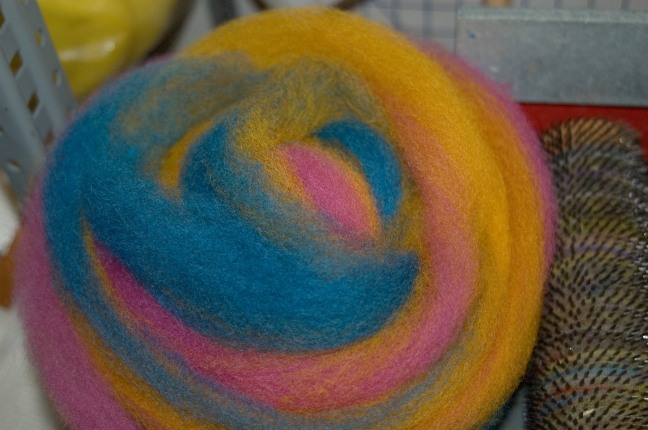
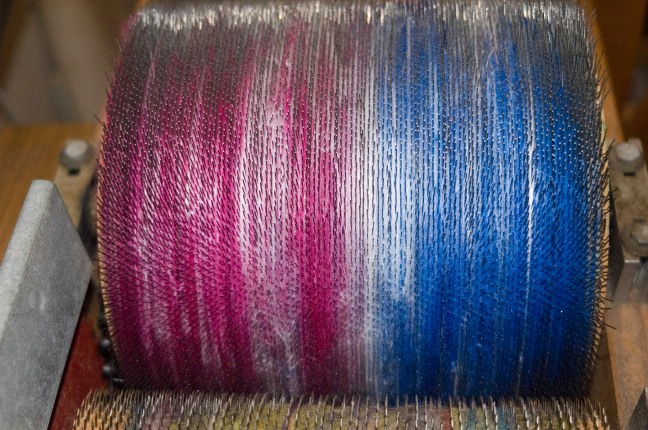 The resulting striped batt on the carder, with significant blending between the colors, mostly due to the slipperiness of the bamboo.
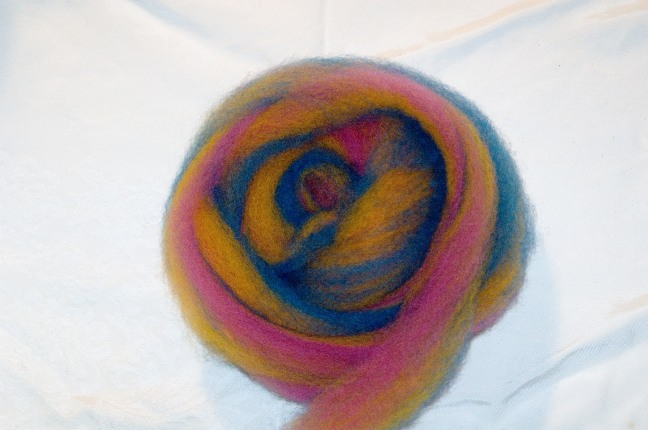
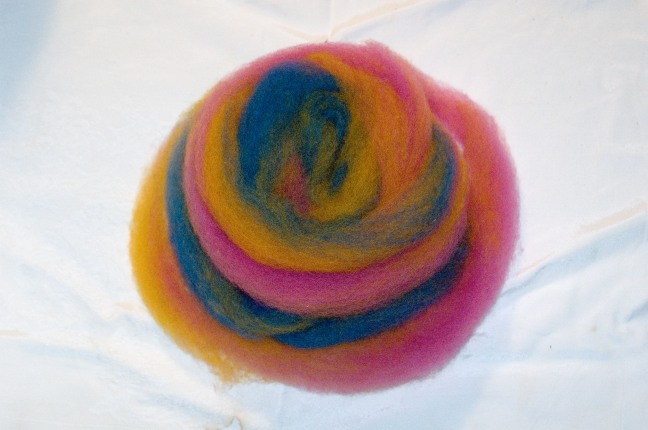
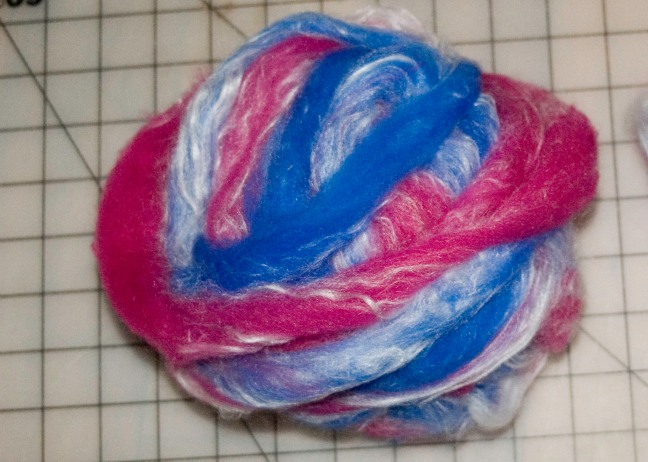 When a striped batt is dizzed off the drum carder, you’re supposed to end up with a roving that transitions through the colors in the stripes one at a time, with some blending between. That’s mostly what I got – you can see large areas of mostly-magenta, mostly-blue, and mostly-white. Again, the slipperiness and density of the bamboo caused it to blend more with the other colors, so that there are nice puffy Merino stripes, but the bamboo sections still have a significant amount of the other two colors visible.
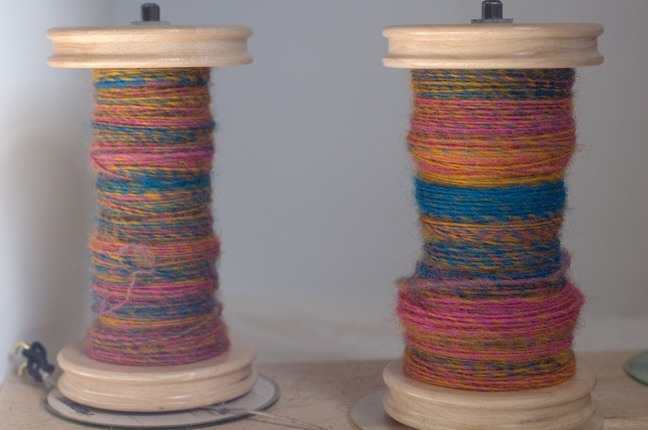
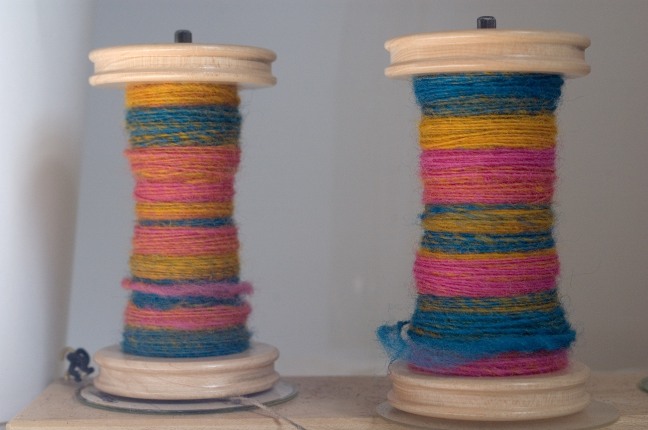
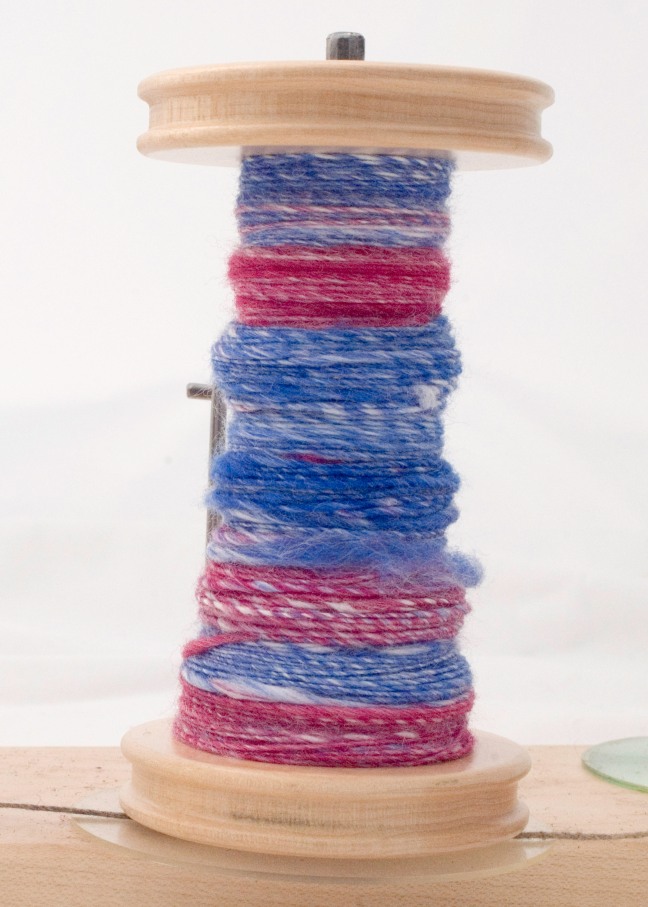 This is what the singles look like on the bobbin. The sections of blue and magenta are very distinct, but the white of the bamboo has almost thoroughly blended into them, leaving nothing that is mostly white.
Next time I’ll post my experiment with this same fiber combination making a layered batt, and show how that turned out.
Save


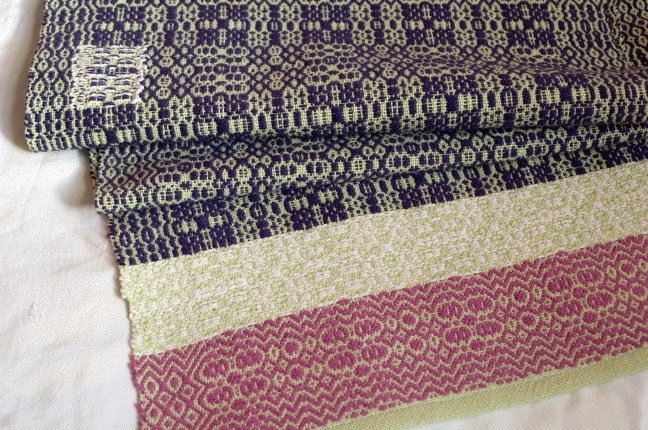
 I’m a big fan of complementary color schemes. I planned five columns of windows, narrower at the sides and increasing towards the center. These columns would use a progression of yellow-orange and orange at the sides, with red-orange as the center column. This color order would be repeated in the weft.
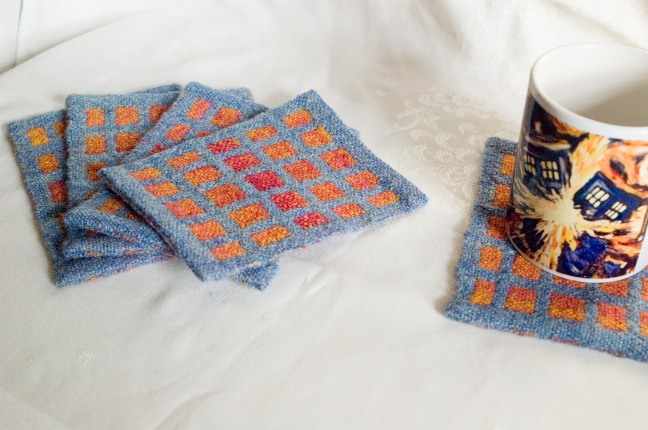 I was very happy with how they turned out.
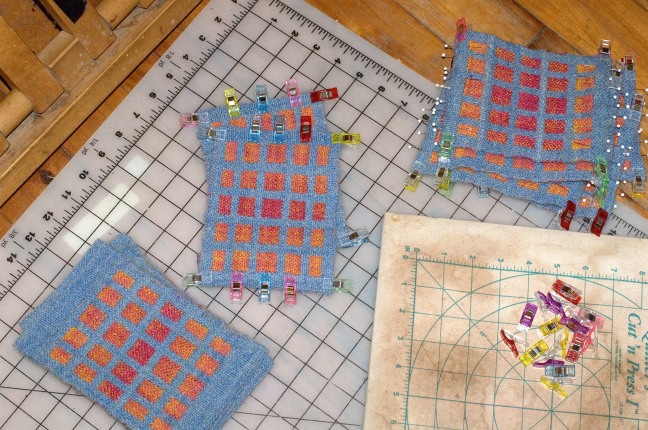
 I ended up with quite a bit more of the oranges than I needed, but I ran out blue weft early. Rather than scrap additional foot of weaveable warp, I cut off the mug rugs and re-threaded for a straight 2/2 twill, planning to weave it off with the leftover oranges in plaid-like stripes.
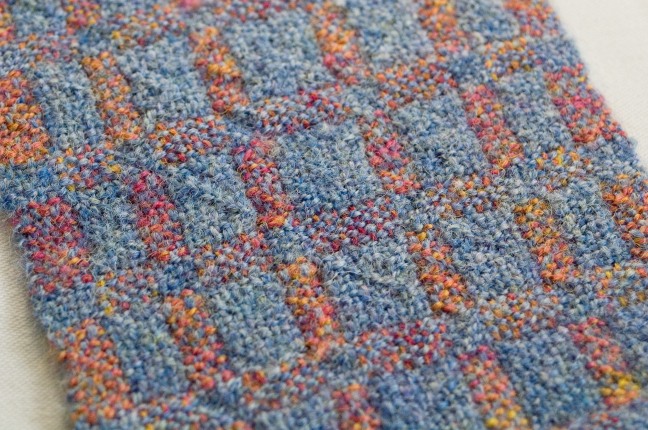


 This is part two, where I kept the batt in layers, tried to maintain a little more control over the bamboo by applying it directly to the drum rather than going through the feed tray, and again removing the batt as a roving by pulling it off through a diz, going back and forth across the width of the carder.
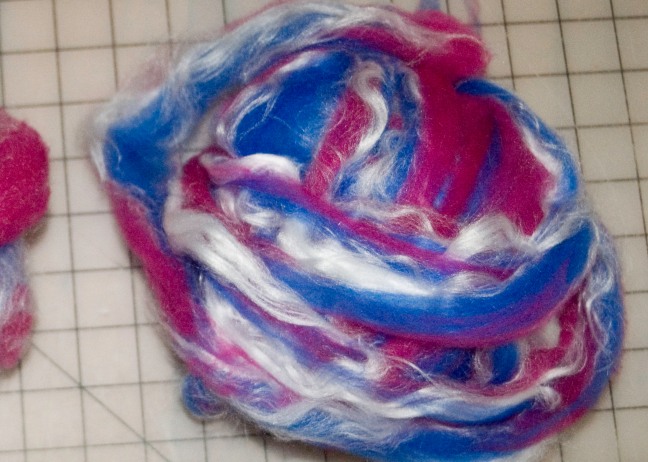 As with the striped batt, the roving came off looking more-or-less the way I’d expected it to. When you diz off a striped batt, you should get all the colors in all the layers distributed fairly evenly along the roving. Theoretically, this should give you a single that also has all the colors in all the layers distributed evenly along the length of the single.
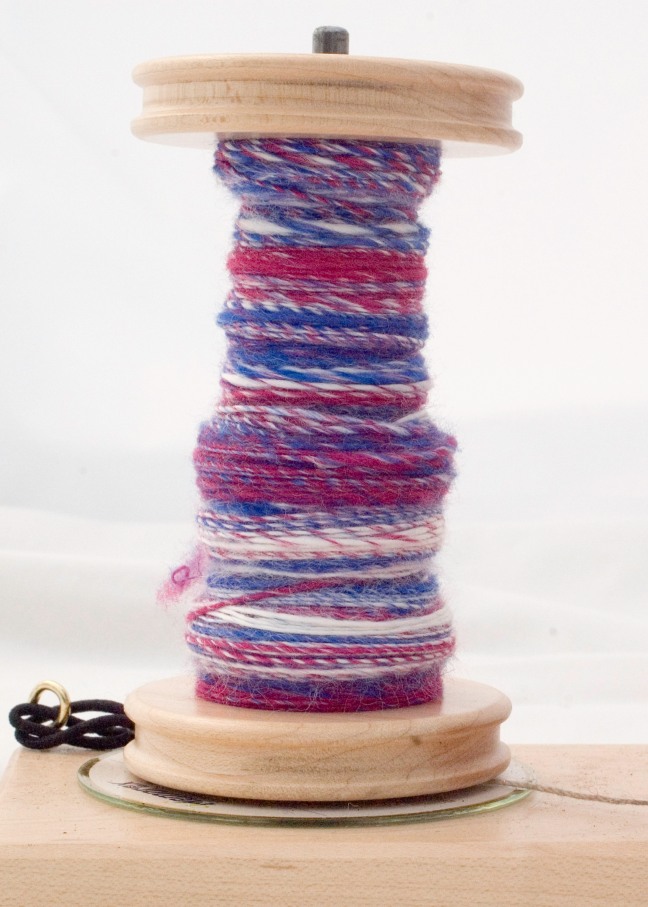 Again, as with the striped batt, the bamboo bit me in the posterior. The slipperiness and tendency to clump together made the bamboo draft in long sections. This time I ended up with a single that had blue and magenta segments interspersed with mostly white bamboo segments.